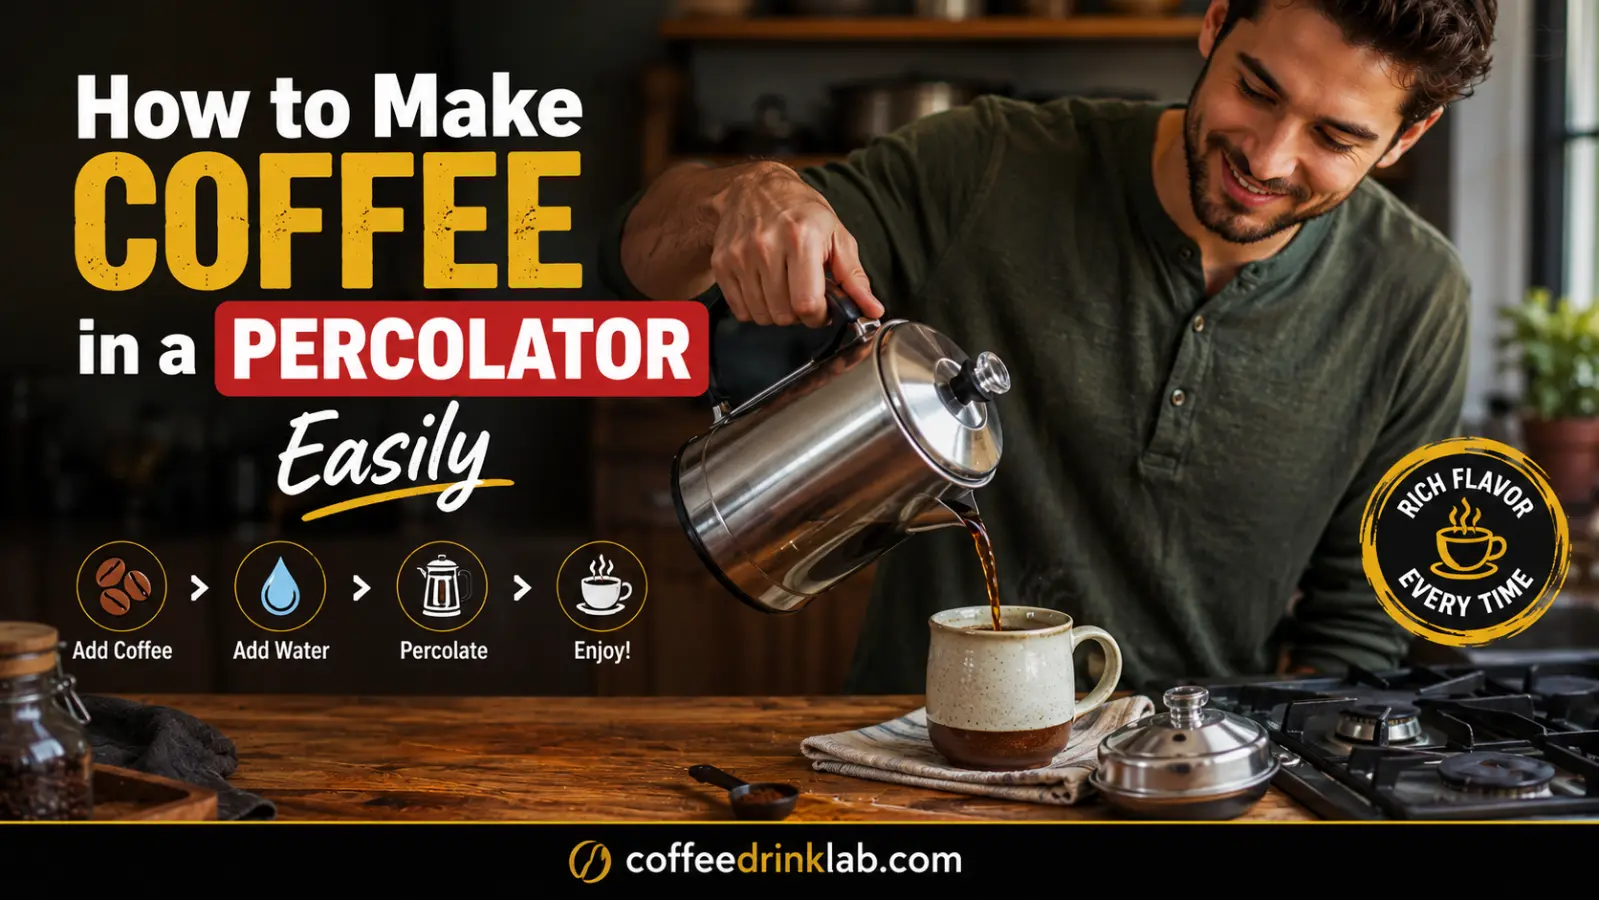
How to Make Coffee in a Percolator Easily
If you’ve ever wondered how to make coffee in a percolator, you’re not alone. While drip coffee makers are common today, many coffee lovers still appreciate the bold, rich taste that only a percolator can deliver.
In fact, learning how to make coffee in a percolator for the best flavor helps you enjoy a fuller-bodied cup while gaining more control over the brewing process.
Whether you’re using a classic stovetop model or an electric percolator, this guide will walk you through every step, explain the best grind size, recommend the ideal coffee to water ratio, and share expert tips to help you brew delicious coffee every time.
Why Choose a Percolator for Coffee?
A percolator has been a favorite brewing method for generations because it produces a bold, aromatic cup of coffee with very little equipment. Unlike a drip machine that lets water pass through coffee grounds only once, a percolator continuously cycles hot water through the grounds until the coffee reaches the desired strength.
Many coffee enthusiasts enjoy this traditional brewing style because it highlights deep roasted flavors and creates a satisfying aroma throughout the kitchen. Furthermore, percolators are durable, easy to use, and ideal for home kitchens, camping trips, and outdoor adventures.
Some advantages include:
- Rich, full-bodied flavor
- Simple brewing process
- No paper filters required in most models
- Excellent for brewing multiple cups
- Great for indoor and outdoor use
- Long-lasting stainless steel construction
How to Make Coffee in a Percolator Step by Step
Learning how to make coffee in a percolator is surprisingly easy once you understand the basic process. Although each model varies slightly, the overall brewing method remains nearly identical.
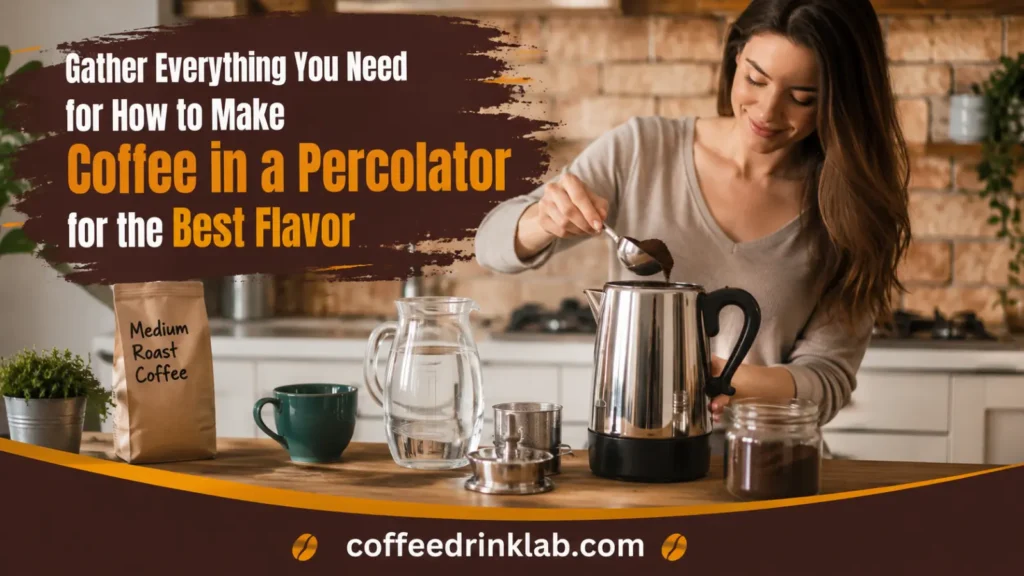
1. Gather Everything You Need for How to Make Coffee in a Percolator for the Best Flavor
Before brewing, gather all of your ingredients and equipment. Starting with fresh coffee beans and clean water makes a noticeable difference in taste.
You’ll need:
- Percolator (stovetop or electric)
- Fresh coffee beans or pre-ground coffee
- Burr grinder (recommended)
- Filtered water
- Measuring spoon
- Coffee mug
Fresh ingredients always produce a smoother and more balanced cup.
2. Choose the Right Coffee Grind
Grind size is one of the biggest factors affecting flavor. A coarse grind works best because it allows water to circulate evenly without letting fine particles pass through the filter basket.
Using espresso-fine coffee often creates bitterness and leaves sediment in your cup. Meanwhile, a medium-coarse grind delivers a cleaner brew with balanced extraction.
Recommended grind:
| Coffee Type | Grind Size | Works Well? |
|---|---|---|
| Espresso | Fine | No |
| Drip Coffee | Medium | Acceptable |
| French Press | Coarse | Best |
| Percolator | Medium-Coarse to Coarse | Ideal |
Best Coffee-to-Water Ratio for How to Make Coffee in a Percolator for the Best Flavor
One of the easiest ways to improve your coffee is by measuring both the coffee and water accurately. Although personal taste matters, most coffee professionals recommend starting with a simple ratio before adjusting for strength.
| Cups of Coffee | Water | Coffee |
|---|---|---|
| 2 cups | 12 oz | 2 tablespoons |
| 4 cups | 24 oz | 4 tablespoons |
| 6 cups | 36 oz | 6 tablespoons |
| 8 cups | 48 oz | 8 tablespoons |
| 10 cups | 60 oz | 10 tablespoons |
If you enjoy stronger black coffee, simply add one extra tablespoon rather than brewing longer, which may cause bitterness.
How to Make Coffee in a Stovetop Percolator
Many coffee lovers prefer learning how to make coffee in a percolator stovetop because it offers complete control over brewing temperature and strength. To make coffee in a percolator on the stove, fill the bottom chamber with fresh water, add coarse coffee grounds to the basket, assemble the percolator, and heat it over medium heat. Once the coffee begins to perk, lower the heat and continue brewing for about 7–10 minutes. This traditional percolator pot method creates a rich aroma and bold flavor that’s ideal for everyday coffee drinkers.
How to Make Coffee in an Electric Percolator
Learning how to make coffee in an electric percolator is simple and convenient. Fill the percolator coffee maker with fresh, filtered water, then add coarse coffee grounds to the filter basket using about one tablespoon per cup of water. Secure the lid, plug in the machine, and let it brew automatically. Unlike a stovetop model, how to make coffee in a percolator electric requires no manual heat control because the built-in heating element maintains the ideal brewing temperature. In about 7–10 minutes, you’ll have rich, flavorful coffee. Knowing how to make coffee in a percolator coffee maker ensures consistent, delicious results every time.
How to Make Coffee in a Percolator While Camping
Learning how to make coffee in a percolator while camping is a great way to enjoy fresh, flavorful coffee in the outdoors. Fill your percolator with clean water, add coarse coffee grounds to the basket, and place it over a campfire or portable camping stove. Keep the heat at a medium level and let the coffee perk gently for 7–10 minutes. Avoid high flames, as they can make the coffee taste bitter. Once brewing is complete, remove the percolator from the heat and let it rest for a minute before serving. How to make coffee in a percolator camping is simple, reliable, and perfect for campers who want a rich, bold cup of coffee while enjoying nature.
Fill the Percolator Correctly
Now it’s time to assemble your percolator.
First, pour fresh filtered water into the bottom chamber. Next, insert the metal stem and place the filter basket securely on top. Then, add the measured coffee grounds evenly without pressing them down.
Finally, close the lid tightly before placing the percolator on the stove or switching on the electric model.
How Long to Brew Coffee in a Percolator
Knowing how long to brew coffee in a percolator is one of the most important factors for achieving the perfect cup. Generally, brewing coffee in a percolator takes 7–10 minutes, depending on how strong you like your coffee. Brew for 5–6 minutes if you prefer a lighter, smoother flavor, while 7–8 minutes produces a balanced cup with rich aroma and body. If you enjoy bold coffee, brew for 9–10 minutes, but avoid going beyond 10 minutes, as over-brewing can extract too many bitter compounds and create a burnt taste. Instead of brewing longer for stronger coffee, use a little more coarse coffee grounds. Keeping the brewing time within the recommended range ensures a smooth, flavorful, and well-balanced cup every time.
How to Make Coffee in a Percolator Urn
Learning how to make coffee in a percolator urn is simple and ideal for serving large groups. Fill the urn with fresh water, add coarse coffee grounds to the basket using the recommended coffee-to-water ratio, and start the brewing cycle. Most percolator urns brew automatically and keep the coffee warm, making them perfect for offices, events, churches, and family gatherings.
Heat the Coffee Slowly
Patience makes a big difference.
For stovetop models, begin with medium heat instead of high heat. As the water warms, you’ll notice coffee bubbling into the glass knob on top.
Once the coffee starts perking steadily, reduce the heat slightly. A gentle, consistent perk extracts rich flavor while preventing burnt or overly bitter coffee.
Most brews take between 7 and 10 minutes, depending on how strong you like your coffee.
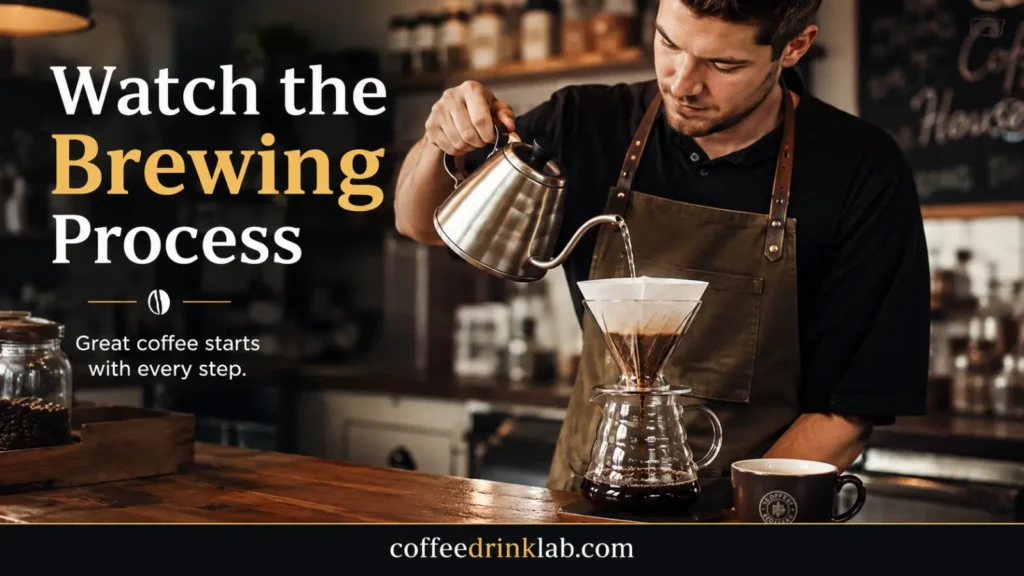
Watch the Brewing Process
One enjoyable feature of traditional percolators is watching the coffee brew.
The glass knob allows you to monitor the color of the coffee as it cycles through the grounds. Initially, the liquid appears light brown. Gradually, it becomes darker and richer.
When the coffee reaches a deep amber color, it’s usually ready to remove from the heat.
How Long Should You Brew How to Make Coffee in a Percolator for the Best Flavor?
Brewing time affects both strength and flavor.
A shorter brew highlights brighter flavor notes, while a longer brew develops richer, darker characteristics. However, brewing too long may produce excessive bitterness.
General guideline:
- 5–6 minutes: Mild coffee
- 7–8 minutes: Balanced flavor
- 9–10 minutes: Bold coffee
- Over 10 minutes: May become bitter
For most people, 7–8 minutes provides the perfect balance of aroma, body, and smoothness
Expert Tips for Better Percolator Coffee
Once you’ve mastered the basics of how to make coffee in a percolator, a few small adjustments can noticeably improve every cup. Experienced coffee lovers often focus on bean freshness, water quality, and brew time rather than simply adding more coffee. As a result, you’ll enjoy a smoother, richer flavor without unwanted bitterness.
1. Use Fresh Beans for How to Make Coffee in a Percolator for the Best Flavor
Freshly roasted beans make the biggest difference in taste. Coffee begins losing its aroma within a few weeks after roasting, especially once it’s ground. Therefore, grinding whole beans just before brewing helps preserve the natural oils and flavor notes.
For the best results, choose:
- Arabica beans for smooth, balanced flavor
- Medium roast for everyday brewing
- Light roast if you enjoy brighter acidity
- Dark roast for bold, smoky richness
2. Filtered Water Matters
Coffee is nearly 98% water, so the quality of your water directly affects the final cup. Hard water can mute delicate flavors, while chlorinated tap water may introduce unpleasant tastes. Instead, use fresh filtered water whenever possible.
3. Avoid Overheating the Coffee
Many beginners think higher heat brews coffee faster. However, excessive heat often over-extracts the grounds, creating harsh, burnt flavors. Meanwhile, moderate heat allows for a more even extraction and a smoother cup.
Common Mistakes When Learning How to Make Coffee in a Percolator
Even experienced coffee drinkers occasionally make small mistakes. Fortunately, they’re easy to avoid once you know what to watch for.
1. Brewing Too Long
Long brewing times may seem like the easiest way to make stronger coffee. In reality, they usually produce bitterness rather than richness. Instead, increase the amount of coffee grounds if you prefer a stronger cup.
2. Using Fine Coffee Grounds
Fine grounds, such as those used for espresso, can pass through the filter basket and create a gritty cup. Additionally, they extract too quickly, leading to an overly bitter taste.
3. Filling Too Much Water
Overfilling the water chamber can affect circulation inside the percolator. As a result, the coffee may brew unevenly or become weak.
4. Ignoring Regular Cleaning
Coffee oils naturally build up inside the basket, stem, and pot. Over time, these oils become rancid and negatively affect flavor. Cleaning your percolator after each use keeps every brew tasting fresh.
Stovetop vs. Electric Percolators
Whether you choose a stovetop or electric model depends on your brewing style and lifestyle. Both produce delicious coffee, although each offers unique advantages.
| Feature | Stovetop Percolator | Electric Percolator |
|---|---|---|
| Heat Source | Stove or campfire | Built-in heating element |
| Brewing Control | Manual | Automatic |
| Portability | Excellent | Good |
| Camping Friendly | Yes | No |
| Ease of Use | Moderate | Very Easy |
| Brewing Consistency | Excellent with practice | Very Consistent |
| Best For | Traditional coffee lovers | Everyday convenience |
If you enjoy hands-on brewing and outdoor adventures, a stovetop percolator is an excellent choice. On the other hand, an electric model offers convenience and consistent results for busy mornings.
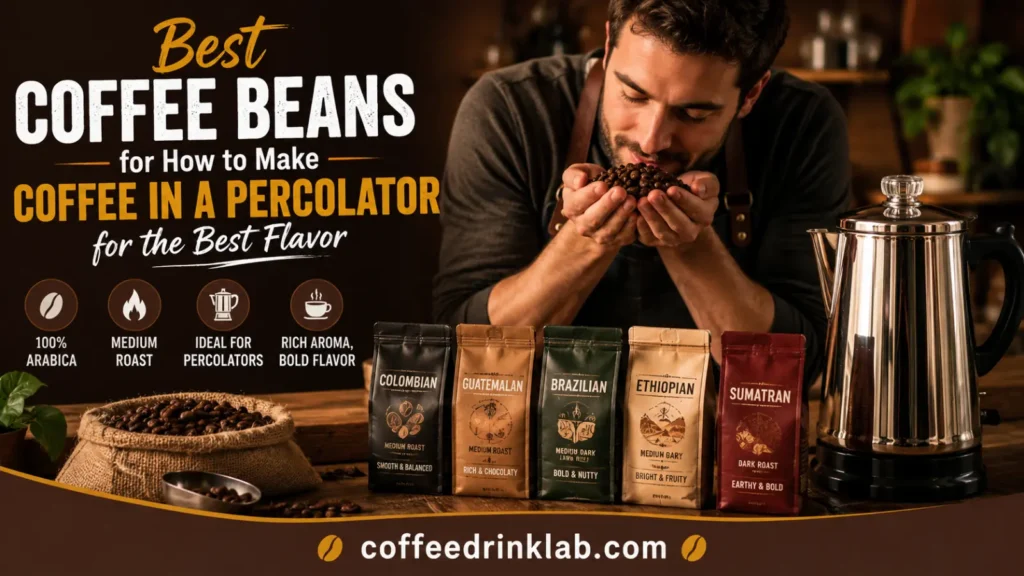
Best Coffee Beans for How to Make Coffee in a Percolator for the Best Flavor
Choosing the right beans is just as important as choosing the right brewing method. Fortunately, percolators work well with a wide range of coffees.
1. Medium Roast
Medium roast coffee is often considered the sweet spot. It balances sweetness, acidity, and body, making it suitable for nearly every coffee drinker.
2. Dark Roast
Dark roasts produce the bold flavor many people associate with traditional percolator coffee. Notes of chocolate, caramel, and toasted nuts become especially pronounced.
3. Single-Origin Coffee
If you enjoy exploring unique flavor profiles, try a single-origin coffee. Ethiopian beans often offer fruity and floral notes, while Colombian coffees are known for their balanced sweetness.
4. Freshly Ground Coffee
Regardless of roast level, freshly ground coffee consistently produces the most flavorful cup. Grinding immediately before brewing helps preserve aroma and natural oils.
Cleaning and Maintaining Your Percolator
Proper maintenance keeps your percolator performing well for years. Thankfully, cleaning takes only a few minutes after each use.
After brewing, allow the percolator to cool before emptying the used grounds. Wash the basket, stem, lid, and pot with warm water and mild dish soap. Be sure to rinse thoroughly to remove any soap residue.
Once a month, deep-clean the percolator by brewing a mixture of equal parts water and white vinegar. Then, brew one or two pots of clean water to rinse away any remaining vinegar taste.
Regular cleaning prevents coffee oil buildup and ensures every cup tastes as fresh as possible.
Is a Percolator Better Than Other Brewing Methods?
Every brewing method has its strengths. A drip coffee maker is convenient, a French press produces a rich texture, and an espresso machine creates concentrated coffee for specialty drinks. Meanwhile, a percolator stands out for its bold flavor, durability, and nostalgic brewing experience.
If you enjoy strong black coffee with a classic taste, a percolator is an excellent addition to your coffee routine. It also works well for serving larger groups, making it a favorite for family breakfasts, cabins, and camping trips.
The Final Talk
Learning how to make coffee in a percolator is a rewarding skill that brings out bold flavors and timeless coffee traditions.
By using fresh beans, filtered water, the correct grind size, and a controlled brewing time, you can consistently enjoy rich, aromatic coffee at home. Most importantly, don’t be afraid to experiment with different roast levels and brewing times until you discover your perfect cup.
Whether you’re brewing on your kitchen stove or around a campfire, a percolator offers a unique coffee experience that’s both simple and satisfying. As you continue practicing how to make coffee in a percolator, you’ll gain confidence, refine your technique, and appreciate the craftsmanship behind every brew. So grab your favorite beans, heat the water, and enjoy the comforting ritual of making exceptional coffee one cup at a time.
FAQs:
How do you make coffee in a percolator? Start by filling the percolator with fresh, filtered water and adding coarse coffee grounds to the filter basket, using about one tablespoon per cup of water. Assemble the percolator, place it on the stove or switch on the electric model, and brew for 7–10 minutes. Once the coffee reaches your desired strength, remove it from the heat and let it rest for a minute before serving for the best flavor.
Knowing how much coffee to use in a percolator helps you brew a balanced cup every time. A good starting point is one tablespoon of coarse coffee grounds per cup of water. If you prefer stronger coffee, add an extra tablespoon instead of increasing the brewing time to avoid bitterness.
How long should coffee brew in a percolator? Most experts recommend 7–10 minutes for the best results. This brewing time creates a rich, balanced flavor without excessive bitterness. If you prefer a milder cup, brew for 5–6 minutes. For stronger coffee, use more coffee grounds instead of brewing longer.
Yes, how to make coffee in a percolator while camping is simple and perfect for outdoor adventures. Fill the percolator with water, add coarse coffee grounds, and place it over a campfire or portable camping stove. Brew for 7–10 minutes over medium heat. How to make coffee in a percolator camping delivers a rich, flavorful cup anywhere.
Both options make excellent coffee. How to make coffee in a percolator stovetop offers greater control over heat and is ideal for traditional brewing or camping. How to make coffee in an electric percolator is easier for beginners because it automatically controls the brewing temperature, providing consistent results with minimal effort.
Discover More Blends
Where to Buy Coffee Beans Nearby: Best Fresh & Whole Bean Coffee (2026)
How Long Do Coffee Beans Last? Freshness Guide
Top 16 Gas Station Coffee Explained for Beginners in 2026