
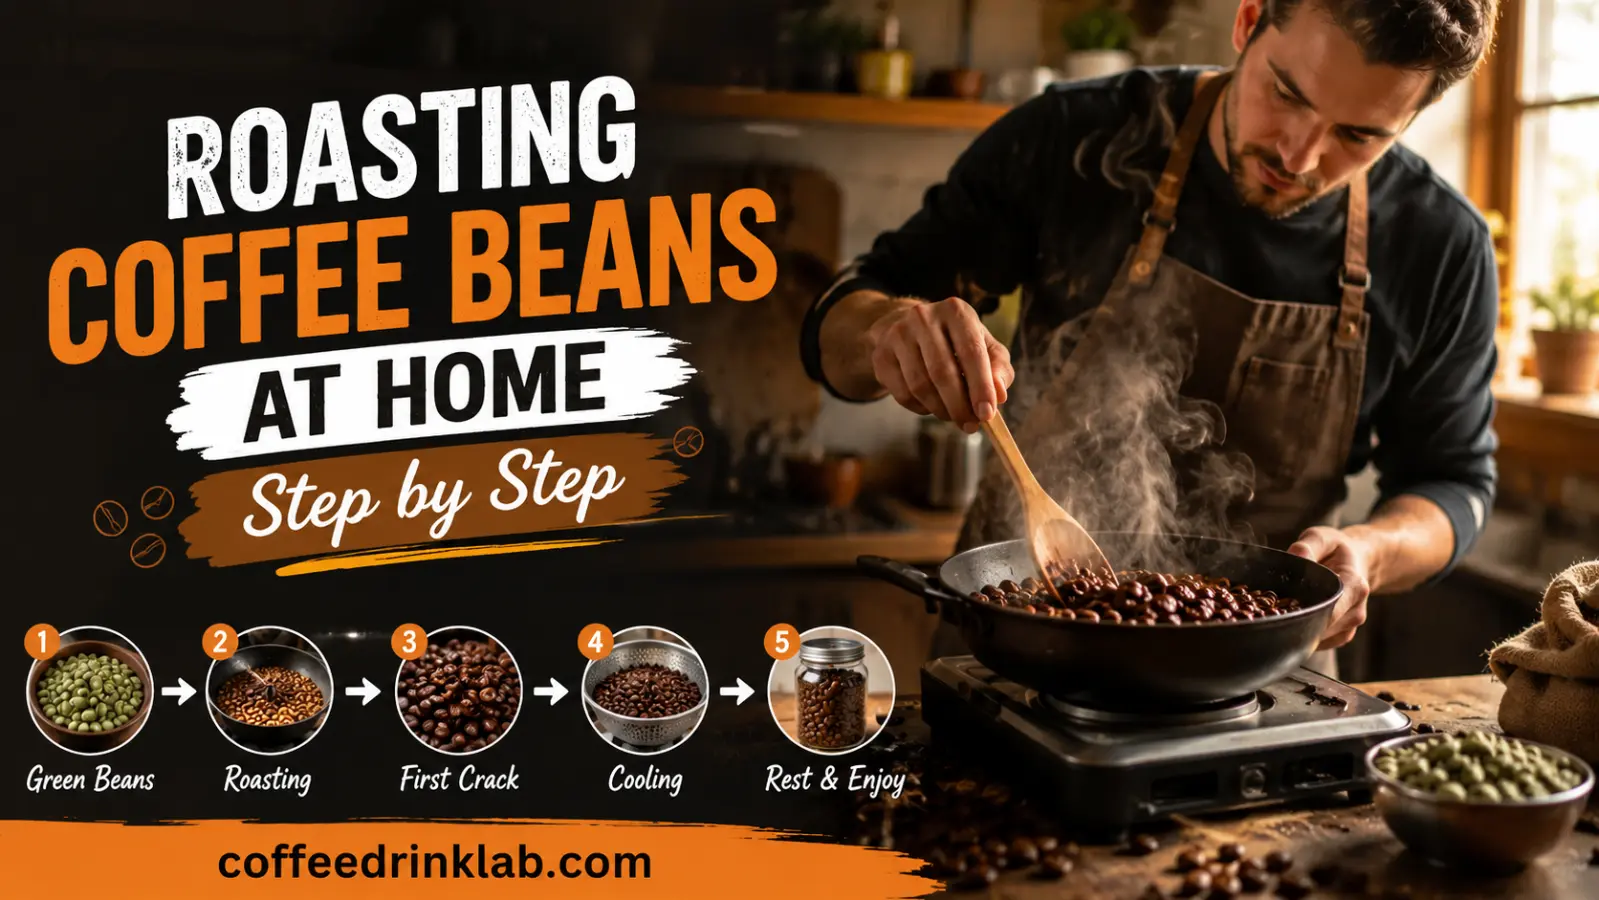
Roasting Coffee Beans at Home Step by Step(2026)
There’s something incredibly satisfying about learning how to roast coffee beans at home. As green coffee beans heat up, they gradually change in color, aroma, size, and flavor, creating the roasted beans used for brewing coffee.
If you’re wondering how do you roast coffee beans or looking for a simple coffee roasting guide, the process is easier to understand once you know the basic stages. Home roasting lets you explore different roast levels, bean origins, and flavor profiles while learning how heat changes coffee.
This guide explains the coffee roasting process step by step, including popular home methods, roast levels, signs of proper development, cooling, storage, common mistakes, and tips for beginners. Whether you want to roast coffee in an oven, use an air popper, or eventually move to a dedicated roaster, you’ll find the fundamentals here.
Why Learn Coffee Roasting at Home?
Freshness is one of the biggest reasons people learn coffee bean roasting. Green coffee beans can remain stable for a long time when stored properly, while roasted coffee gradually loses some of its aroma and flavor.
Home roasting also gives you an opportunity to experiment with roast development. You can compare light, medium, and dark profiles and learn how different origins respond to heat.
For beginners, the goal is not to create a perfect roast immediately. It is to understand the roasting of coffee beans, recognize important stages, and gradually improve consistency from batch to batch.
3. Coffee Roasting for Beginners: What to Know First
If you’re learning how to start roasting coffee, begin by understanding the basic stages rather than trying to reproduce a professional roast profile. Small batches make it easier to observe changes in color, aroma, and development.
Before you roast, choose suitable green coffee beans and decide which method fits your equipment and experience. A simple setup can help you learn the fundamentals before moving to more advanced equipment.
The best way to roast coffee beans depends on your available equipment, desired level of control, and experience. What matters most is keeping your process consistent so you can compare results and improve over time.
1. How to Prepare Coffee Beans for Roasting
Before roasting, make sure you are working with green, unroasted coffee beans rather than beans that have already been roasted. Check the beans for obvious foreign material and remove anything that should not be in the batch.
Understanding how to prepare coffee beans for roasting also means choosing a manageable batch size and having your roasting equipment ready before heating begins. Keeping preparation consistent makes it easier to compare one roast with another.
These green beans are the starting point of the coffee bean roasting process. As heat is applied, moisture leaves the beans and a series of chemical reactions gradually develops their aroma, color, and flavor.
2. Choose Quality Green Beans
The origin of the bean greatly affects the final cup. Arabica varieties often produce sweeter and more complex flavors, while robusta beans tend to offer stronger bitterness and higher caffeine.
Popular beginner-friendly origins include:
- Colombian
- Brazilian
- Ethiopian
- Guatemalan
- Costa Rican
3. Select Your Roasting Method
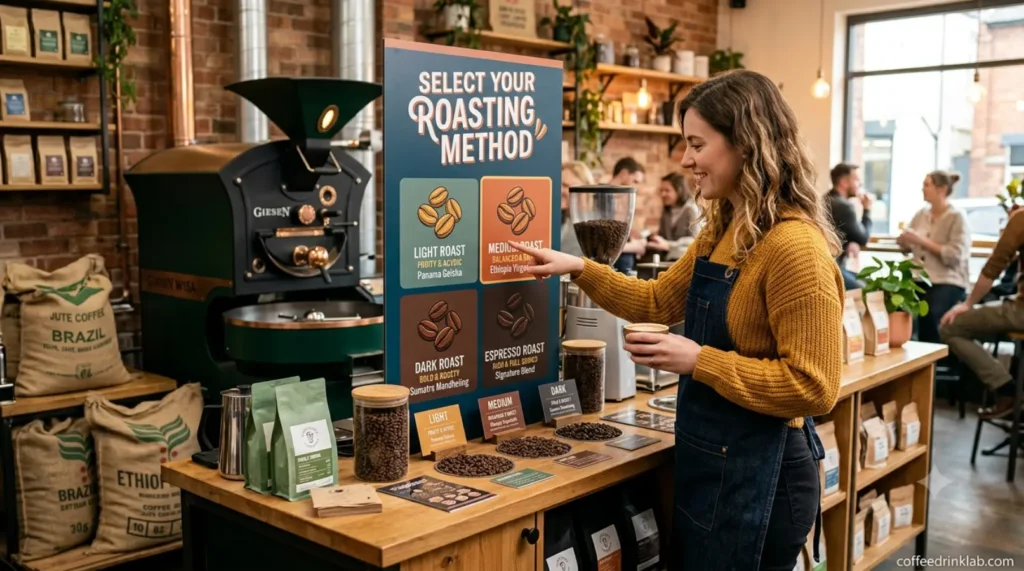
Several methods work well for home coffee roasting. There are several ways to learn how to roast coffee beans at home, from simple kitchen methods to purpose-built roasting equipment. The main differences are temperature control, airflow, batch size, consistency, and convenience.
- Oven roasting
- Stovetop pan roasting
- Air popcorn popper
- Dedicated home coffee roaster
- Drum roasting machine
Each option offers different levels of control, cost, and convenience.
How Coffee Beans Are Roasted Professionally
Learning how to roast coffee beans professionally involves much more than simply applying heat. Commercial roasters carefully monitor the development of the beans and record variables that can affect the final cup.
A professional coffee roasting process typically focuses on repeatability, temperature changes, airflow, roast development, and rapid cooling. Roasters may record profiles so successful batches can be reproduced more consistently.
Home roasting does not require the same level of equipment. However, understanding professional roasting can help beginners recognize why temperature management and consistency matter when learning how to roast coffee.
Roasting Coffee Beans at Home: Popular Methods
Learning roasting coffee beans at home becomes easier once you understand the available techniques.
3. Air Popper Method for the Best Way to Start Roasting Coffee Beans at Home for Beginners
Many coffee lovers begin with an air popcorn popper because it circulates beans evenly and reaches roasting temperatures quickly. It is affordable and surprisingly effective for small batches.
However, not every popcorn maker is suitable, so always verify that the model supports continuous hot-air circulation rather than oil-based popping.
Compared with ovens, many coffee lovers prefer air poppers because the constant circulation promotes more even roasting. This makes them one of the simplest ways to learn how to roast coffee beans at home before investing in specialized equipment.
1. Stovetop Pan Roasting
Using a heavy skillet provides hands-on control and requires minimal investment. Nevertheless, you’ll need to stir constantly to prevent scorching.
The process also creates smoke, making good ventilation essential.
2. Oven Roasting
Roasting coffee beans at home in an oven remains one of the easiest methods for beginners because most households already own an oven. Spread beans evenly across a baking tray, roast at approximately 450°F, and stir every few minutes for even color development. While dedicated coffee roasters offer greater consistency, oven roasting is an affordable way to learn how to roast coffee beans at home.
3. Can You Roast Coffee Beans in an Air Fryer?
Some home coffee enthusiasts experiment with an air fryer because its circulating heat can move beans during roasting. If you are researching roasting coffee beans at home in an air fryer, remember that air fryers vary considerably in temperature control, airflow, and capacity.
The main challenge is consistency. A method that works with one appliance may produce different results with another, so careful observation is important.
For beginners, an air fryer can be considered an alternative home method, but dedicated coffee roasting equipment is designed specifically for the roasting process and generally offers more control.
Dedicated Home Coffee Roasters
Purpose-built coffee roasters deliver the highest level of precision. Temperature control, airflow management, and automated cooling often produce more consistent batches.
If you plan to roast regularly, this investment can pay off in both quality and convenience.
What Is the Best Way to Roast Coffee Beans?
There is no single roasting method that works equally well for every home roaster. The best choice depends on how much control, convenience, and equipment you want.
| Method | Main Advantage | Main Challenge |
|---|---|---|
| Air popper | Simple and accessible | Limited batch size |
| Stovetop pan | Hands-on control | Requires constant attention |
| Oven | Uses common kitchen equipment | Less precise temperature control |
| Air fryer | Circulating heat | Results vary by appliance |
| Dedicated roaster | Greater control and consistency | Higher initial cost |
For someone learning how to roast coffee beans at home, choosing a method that is easy to monitor and repeat is generally more useful than choosing the most complicated equipment.
7. Coffee Roasting Process Step by Step
Understanding the process of roasting coffee beans becomes easier when you divide it into recognizable stages. The exact timing varies by equipment, batch size, bean origin, and desired roast level.
Step 1: Start With Green Coffee Beans
Begin with suitable unroasted green coffee beans. Inspect the batch and remove obvious foreign material before roasting.
Step 2: Begin the Roast
Apply heat using your chosen roasting method and observe how the beans respond. Early in the process, the beans gradually lose moisture and change from green toward yellow and light brown.
Step 3: Watch for Color and Aroma Changes
As roasting continues, the beans become progressively darker and develop stronger toasted aromas. These changes help you understand where the beans are within the coffee roasting process.
Step 4: Listen for the First Crack
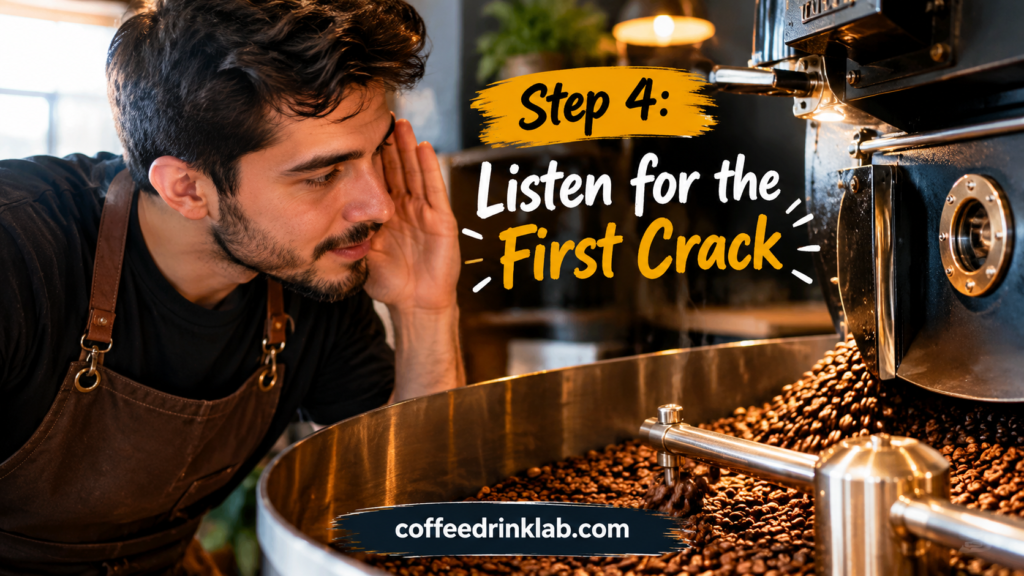
The first crack is an important audible stage during roasting. It indicates that the beans have undergone significant physical and chemical changes and are entering a more developed stage of the roast.
Step 5: Decide on the Roast Level
Continue development according to the roast profile you want. Light, medium, and dark roasts produce different combinations of acidity, sweetness, body, and roasted character.
Step 6: Cool the Beans
Once the desired development has been reached, cool the beans promptly. Rapid cooling helps prevent residual heat from continuing the roasting process.
Step 7: Rest and Store the Beans
Freshly roasted beans release carbon dioxide after roasting. Allowing them to rest before brewing can help the coffee develop a more balanced flavor. Store the finished beans in an appropriate airtight container away from heat, light, and moisture.
3.Understanding Roast Levels
Roast level dramatically influences flavor, aroma, and body.
1. Light Roast
Light roasts preserve much of the bean’s original character. They often feature floral aromas, fruity acidity, and delicate sweetness.
These beans work especially well for pour-over brewing and single-origin coffees.
2. Medium Roast
Medium roast strikes a balance between origin flavors and caramelized sweetness. It remains one of the most popular choices in the United States because it offers versatility across brewing methods.
Expect balanced acidity and pleasant chocolate or nutty notes.
3. Dark Roast
Dark roasting develops bold flavors with smoky undertones and lower perceived acidity. Espresso enthusiasts frequently enjoy these rich profiles.
However, roasting too dark may overpower the bean’s natural characteristics.
Signs Your Beans Are Roasting Properly
As beans heat, they change color from green to yellow and then progressively darker shades of brown. Their aroma also develops throughout the roast, while audible changes help indicate important stages.
If you are learning how to roast my own coffee beans, pay attention to the combination of color, aroma, sound, and overall bean development rather than relying on a single signal.
The first crack resembles popcorn popping and signals the beginning of drinkable coffee. The second crack indicates deeper development and often leads toward darker roast profiles.
Watch for:
- Even color development
- Pleasant toasted aroma
- Audible first crack
- Minimal scorching
- Uniform bean expansion
Cooling Is Just as Important
Once the desired roast level is reached, cool the beans immediately. Delayed cooling allows residual heat to continue roasting and may push beans beyond your target profile.
Many home roasters transfer beans between metal colanders while stirring until they reach room temperature.
5. Common Home Coffee Roasting Mistakes
Even when you understand how to roast coffee beans, early batches may not turn out exactly as expected. Most beginner problems come from inconsistent batch sizes, poor observation, uneven development, or trying to change too many variables at once.
Keeping simple notes about your beans, equipment, roast development, and results can make it much easier to identify what worked and what needs improvement.
1. Roasting Too Quickly
Applying excessive heat may burn the exterior while leaving the interior underdeveloped. Slow, controlled roasting usually produces more balanced flavors.
2. Ignoring Smoke
Coffee roasting naturally creates smoke, especially during darker roasts. Proper ventilation improves both comfort and safety.
3. Using Beans Immediately

Freshly roasted coffee releases carbon dioxide for several hours or even days. Waiting 12–48 hours before brewing often produces a more balanced extraction.
4. Inconsistent Batch Sizes
Keeping batch sizes similar helps you reproduce successful roasts and refine your technique over time.
5. How to Roast Raw Coffee Beans
When people search for how to roast raw coffee beans, they are usually referring to green coffee beans before roasting. These beans need controlled heat to transform their color, aroma, structure, and flavor.
The basic roasting process moves the beans through several stages, from moisture removal to browning and roast development. Learning to identify these stages is more useful than memorizing one universal roasting time because different beans and equipment behave differently.
Equipment You’ll Need
Although expensive gear isn’t necessary, a few basic tools make the process easier.
| Equipment | Purpose |
|---|---|
| Green coffee beans | Raw material for roasting |
| Heat source | Produces roasting temperatures |
| Metal colander | Cooling beans |
| Wooden spoon | Stirring during roasting |
| Airtight container | Storage after degassing |
| Kitchen timer | Tracking roast duration |
| Thermometer (optional) | Monitoring temperature |
Storage Tips for Freshly Roasted Beans
Proper storage preserves the hard-earned flavors you’ve developed.
Store roasted beans in:
- Airtight containers
- Cool, dark cabinets
- Dry environments
- Opaque canisters
Avoid refrigeration because moisture and odors may negatively affect quality.
Is Home Roasting Worth It?
For many coffee lovers, absolutely. Fresh roasting allows unmatched control over flavor while often reducing long-term coffee costs. Furthermore, experimenting with beans from different origins can become an enjoyable hobby.
On the other hand, it requires patience, practice, and tolerance for occasional imperfect batches. Fortunately, every roast teaches valuable lessons.
The Final Talk
If you’ve been considering roasting coffee beans at home, there’s never been a better time to begin. The process combines science, creativity, and craftsmanship into a rewarding ritual that transforms ordinary mornings into memorable coffee experiences. By following the best way to start roasting coffee beans at home for beginners, you’ll quickly gain confidence and develop your own preferred roasting style.
Most importantly, remember that every batch is an opportunity to learn. Start with quality green beans, pay attention to roast progression, cool your beans promptly, and keep experimenting. Before long, you’ll discover flavor profiles perfectly suited to your palate while enjoying some of the freshest coffee possible.
FAQs:
Yes, some home coffee enthusiasts use an oven as an accessible roasting method. However, household ovens generally provide less precise control than equipment specifically designed for coffee roasting.
Roasting time varies according to the bean, equipment, batch size, heat application, and desired roast level. Rather than relying on one fixed time, observe the beans and learn their different roasting stages.
Beginners can start with a simple home roasting method that allows them to observe the beans closely. The best option depends on available equipment, batch size, and desired control.
Start by learning the basic roasting stages, selecting suitable green beans, choosing a manageable home method, and keeping your batches consistent. Practice and careful observation are key to improving your results.
Green coffee beans gradually lose moisture, change color, develop aroma, expand, and undergo chemical reactions that create the flavors and aromas associated with roasted coffee.
15.Discovers More Blends
Types of Coffee Drinks Chart: Ultimate Guide
How to Choose Coffee Beans Like a Pro(2026)






5 Comments